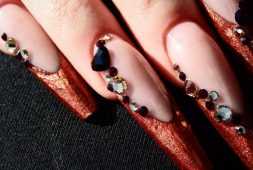
With so many amazing graffiti nail art designs, choosing which one to try can be hard. But never fear – we’ve got you covered. Here are our top picks for the best graffiti nail art designs to try right now. So get your nails ready, and let’s get started!
How to create beautiful graffiti nail art designs in minutes
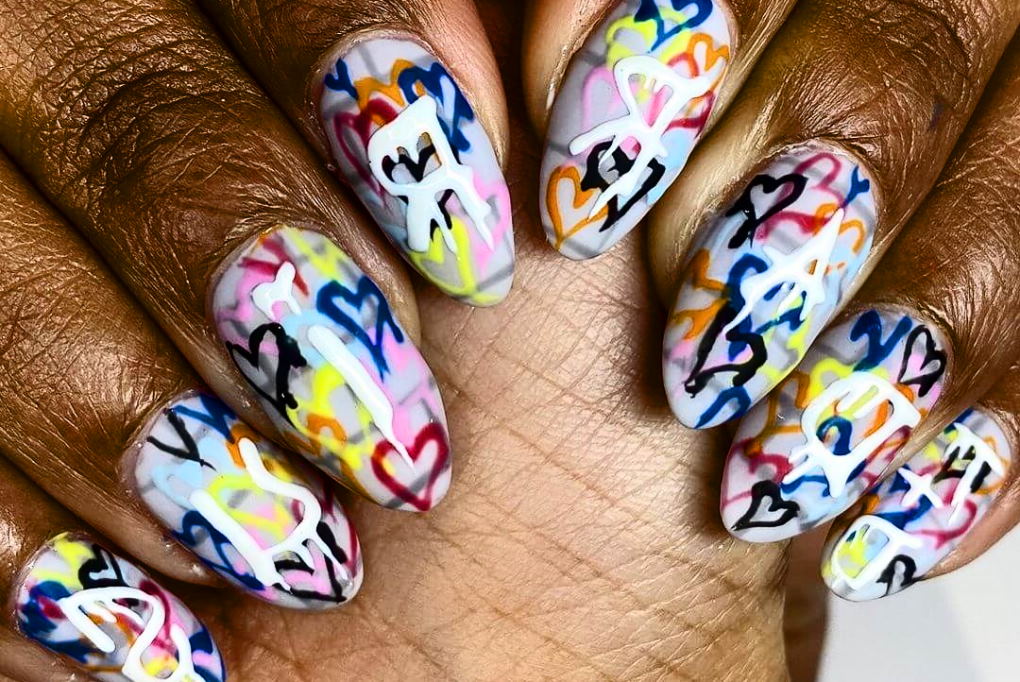
If you’re looking for a fun and creative way to spruce up your nails, look no further than graffiti nail art! This type of design is perfect for those who want to add a bit of personality and pizzazz to their nails, and the best part is that it’s relatively easy to do. Plus, with so many different colors and designs, you can let your creativity shine. Here’s how to create beautiful graffiti nail art designs in minutes:
- Start with a clean slate. Make sure your nails are free of any polish or other debris before you begin.
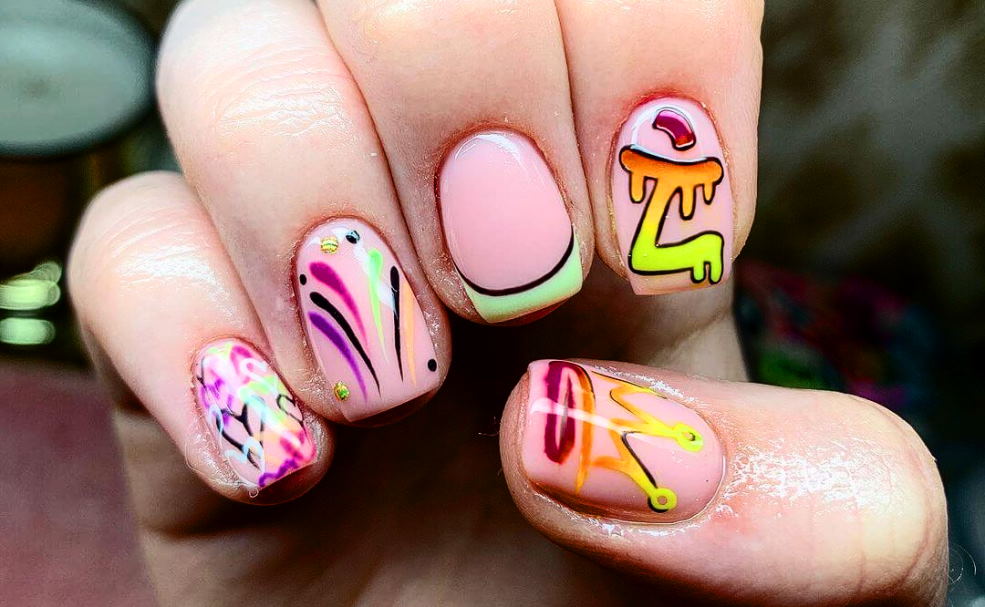
- Choose your colors. You’ll need at least two different colors of nail polish for this project. Select complementary colors that will look great together.
- Paint your nails. Begin by painting your nails with one of the colors you’ve chosen. Allow the polish to dry completely before moving on to the next step.
- Create your design. Use the second color of polish to create a design on top of the first color. You can create your design with various techniques, such as dotting or stripes. Be creative and have fun!
- Seal the deal. Once you’re happy with your design, seal it in with a clear top coat of nail polish. This will help protect your design and make it last longer.
And that’s it! You can easily create beautiful and unique graffiti nail art designs with just a few simple steps. Have fun experimenting with different colors and techniques until you find a look you love.
Pimp your nails: a guide to DIY graffiti press nail art
If you’re anything like me, you love to change up your nail art often. It’s a great way to express your personality and style, and it’s a lot of fun! But sometimes, finding the time or money to go to a salon for a new design can be tough. That’s where DIY press nails come in! With just a little time and effort, you can create amazing designs at home.
Here’s what you’ll need:
- Nail polish (I like to use neon or bright colors for this)
- A top coat (optional)
- Nail art stickers (you can find these at most beauty supply stores)
- Scissors
- Tweezers
First, start by painting your nails with a base color. I like to use white so that the colors pop, but you can use whatever color you like. Once the base color is dry, apply a top coat if you’re using one.
Next, it’s time to start creating your designs. First, cut out the stickers you want to use into small pieces. I like to create abstract designs, but you can do whatever you like! Once your pieces are cut out, use tweezers to place them onto your nails. Make sure to press them down well so that they will stay in place.
Finally, apply another layer of top coat (if using) and let your nails dry completely.
Recommended To You